DIY floating kitchen shelves have become a popular choice for homeowners who want both function and style. Learning how to make DIY floating kitchen shelves allows anyone to upgrade a kitchen without a full renovation. These shelves add storage, improve organization, and create a clean, modern look that works in both small and large kitchens.
Why DIY Floating Kitchen Shelves Are a Smart Choice
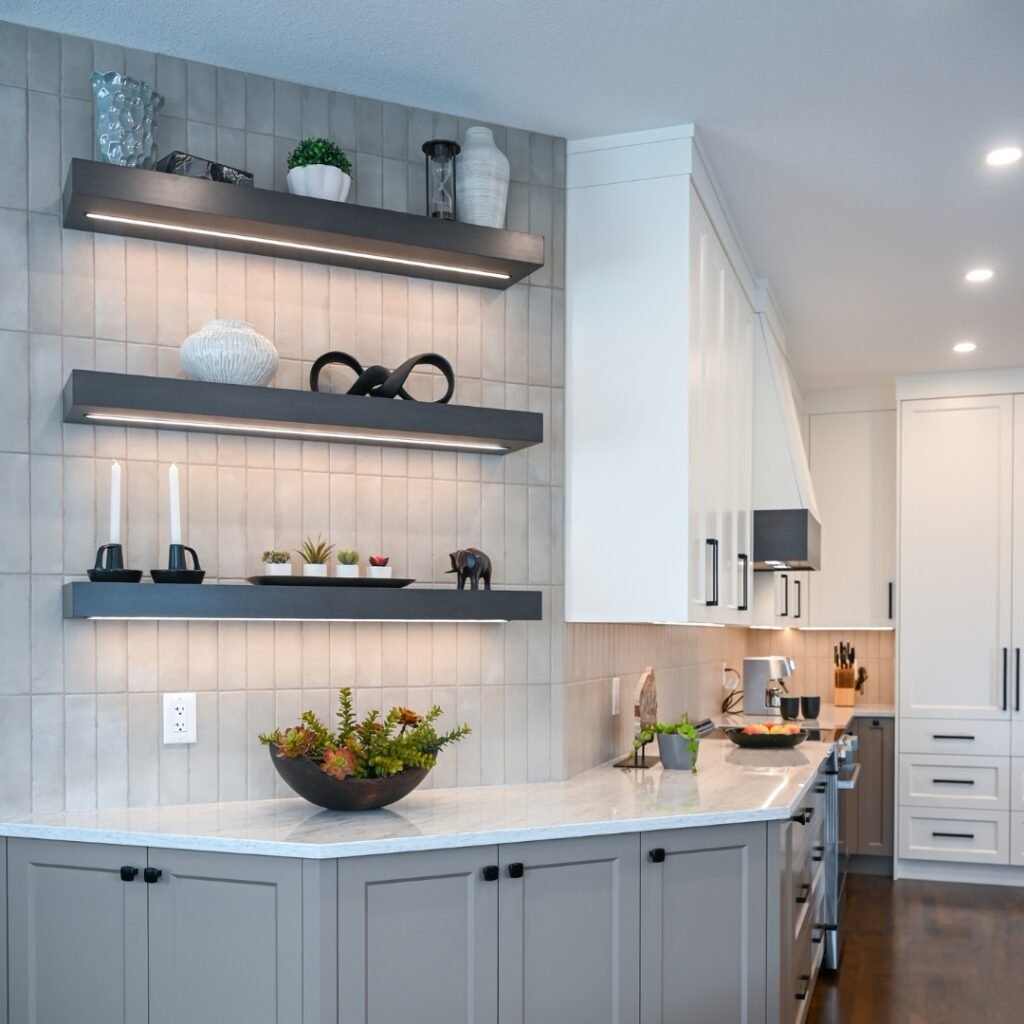
Floating kitchen shelves offer a balance of practicality and design. Unlike bulky cabinets, they keep the kitchen open and visually lighter.
Key benefits include:
- Affordable kitchen storage solution
- Custom sizing for any kitchen layout
- Easy access to everyday items
- A modern, minimalist look
DIY Floating Kitchen Shelves
Proper planning is essential before starting any DIY kitchen shelving project.
Choose the Right Location
DIY floating kitchen shelves work best above countertops, near cooking zones, or in unused wall space. The shelves should be easy to reach without interfering with appliances.
Decide Shelf Size and Spacing
Standard floating shelves are usually 8–12 inches deep. Spacing between shelves should allow enough room for dishes, jars, or decor items while keeping the kitchen functional.
Match the Kitchen Style
Modern kitchens often use simple wood shelves, while farmhouse or rustic kitchens may benefit from thicker wood floating shelves with visible grain.
Materials Needed for DIY Floating Kitchen Shelves
Using the right materials ensures durability and safety.
Common materials include:
- Wooden boards (solid wood or plywood)
- Floating shelf brackets or hidden brackets
- Wall anchors and screws
- Drill and level
- Stud finder
- Sandpaper
- Wood stain or paint
These materials support strong, long-lasting floating kitchen shelves.
How to Make DIY Floating Kitchen Shelves
Step 1: Measure and Mark the Wall
Accurate measurements help ensure even shelf placement. A level is used to mark straight lines where the shelves will be installed.
Step 2: Install Floating Shelf Brackets
Hidden brackets are secured into wall studs or heavy-duty anchors. This step is crucial for supporting the weight of kitchen items.
Step 3: Prepare the Wooden Shelves
The wood is sanded smoothly and finished with paint, stain, or sealant. This protects the shelf and enhances its appearance.
Step 4: Mount the Shelves
Once dry, the shelves slide onto the brackets and are secured in place. The result is a clean, floating look with no visible hardware.
Best Wood Options for Floating Kitchen Shelves
Choosing the right wood affects both style and strength.
- Pine: Budget-friendly and easy to work with
- Oak: Strong and durable with visible grain
- Maple: Smooth finish for modern kitchens
- Reclaimed wood: Adds rustic charm
Each option suits different kitchen shelf ideas and decor styles.
3 DIY Floating Shelves Ideas for a Pretty Kitchen
DIY floating shelves are one of the easiest ways to make a kitchen look stylish, organized, and inviting. They work beautifully in small kitchens, modern spaces, and cozy homes alike. Below are six creative and practical floating shelf ideas that can instantly elevate a kitchen’s appearance.
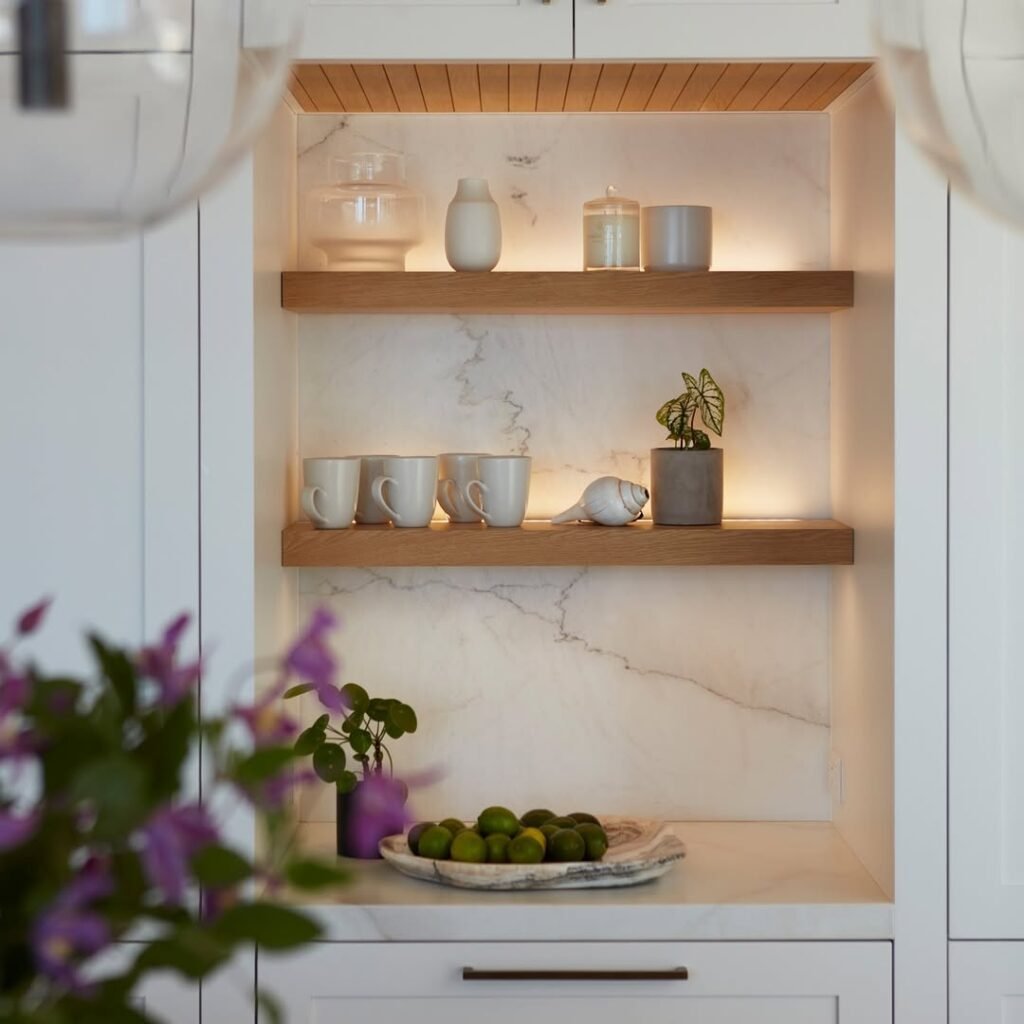
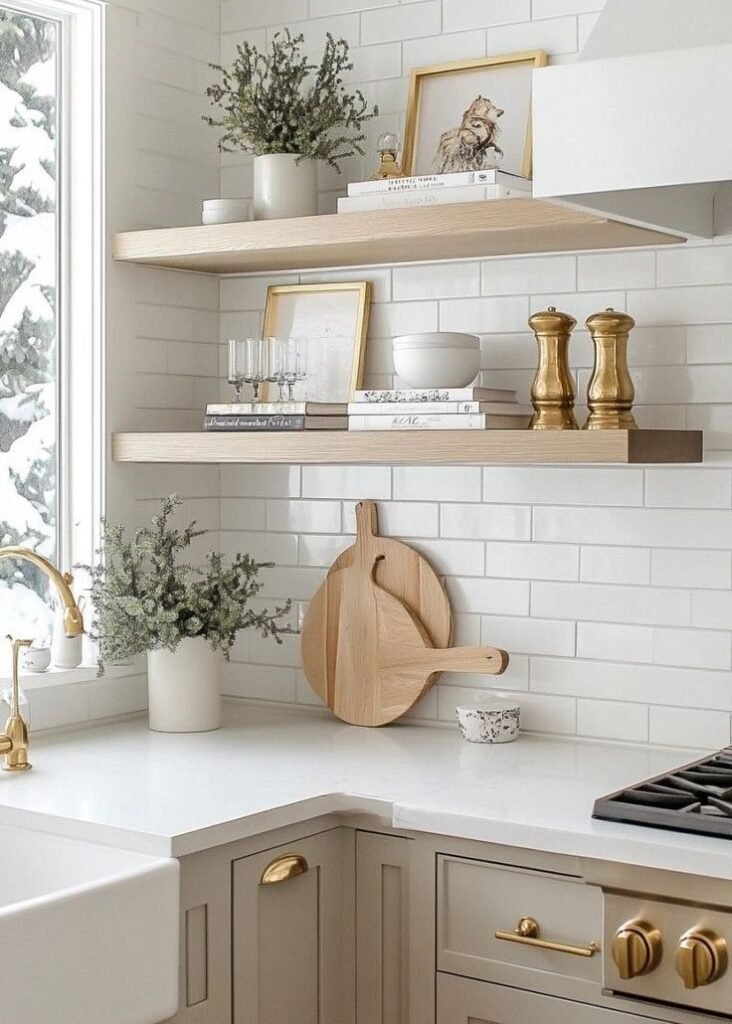
White Minimal Floating Shelves
White floating shelves are perfect for kitchens that follow a minimalist or modern design. Painted wooden boards paired with hidden brackets create a seamless floating effect.
These shelves help reflect light and make the kitchen feel more open. Styling them with white plates, neutral bowls, and subtle decor keeps the look calm and elegant without feeling cluttered.
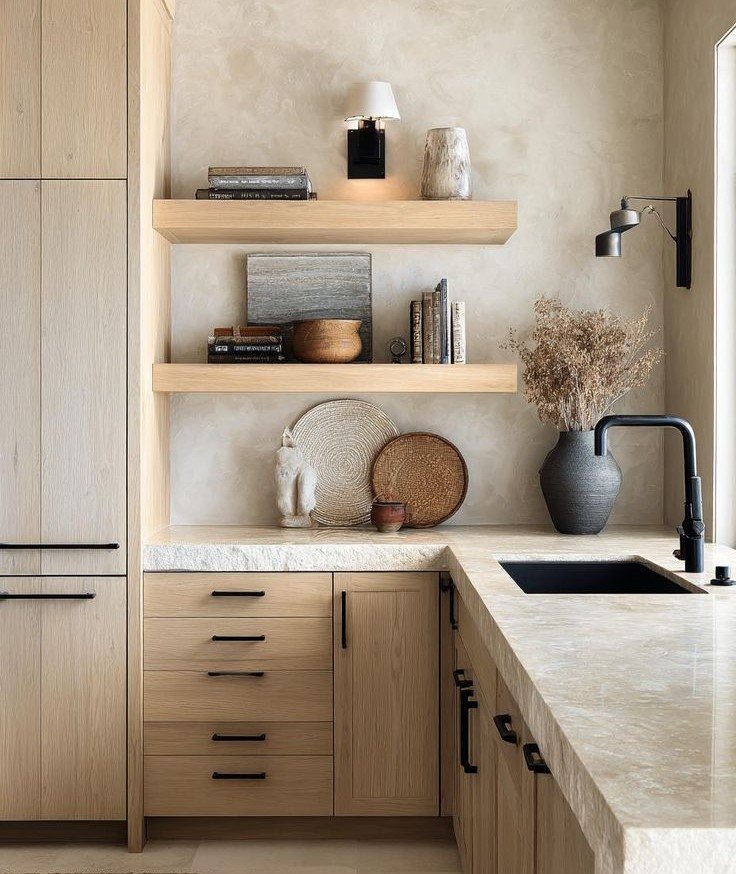
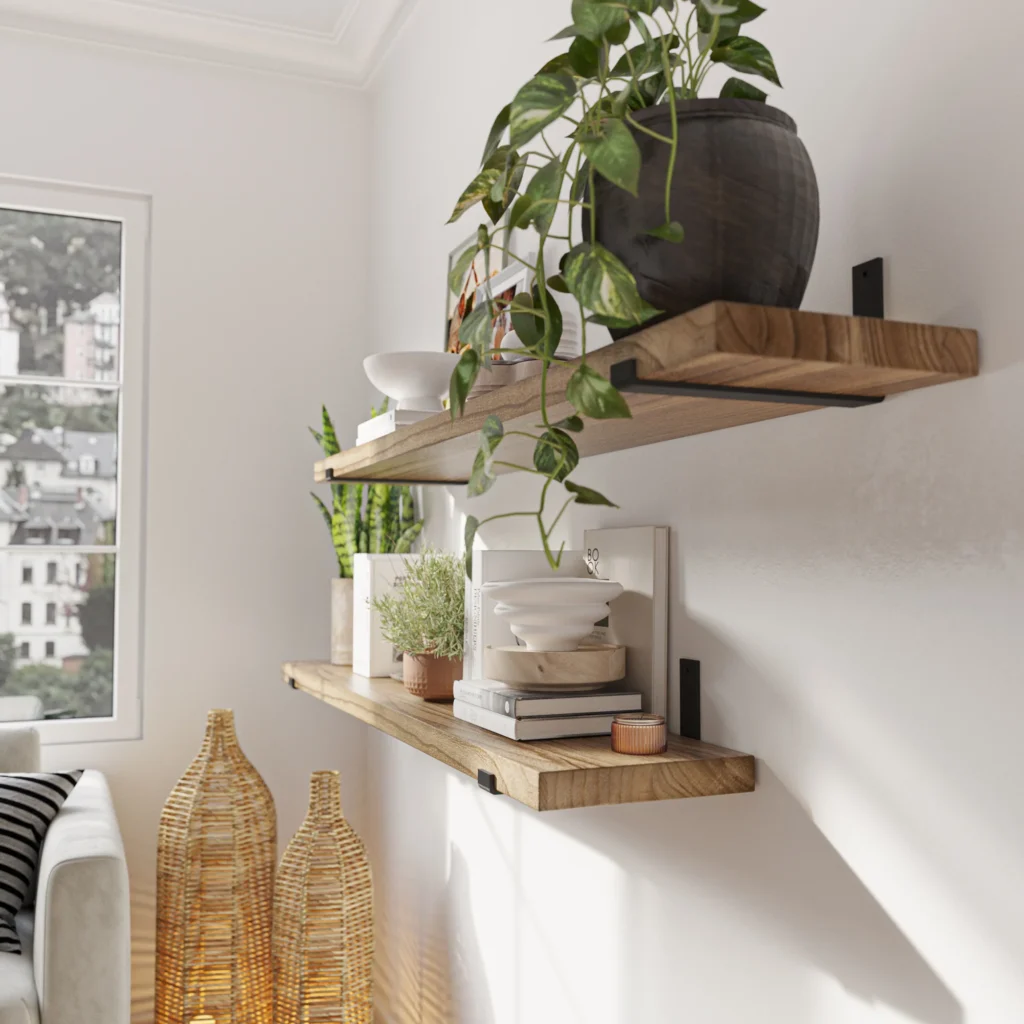
Rustic DIY Floating Shelves
Reclaimed wood floating shelves add character and charm to a kitchen. Old wooden planks can be cleaned, sanded, and sealed to create shelves with natural texture and history.
This idea works beautifully in farmhouse or vintage-style kitchens. Pair them with mason jars, wooden utensils, and antique-inspired decor for a cozy, lived-in feel.
Floating Corner Shelves to Maximize Space
Corner floating shelves are a smart DIY solution for unused kitchen corners. They provide extra storage without taking up valuable wall space.
These shelves are great for storing spices, mugs, or small plants. Using the same wood finish as the rest of the kitchen keeps the design cohesive while improving functionality.
Common Mistakes to Avoid
When learning how to make DIY floating kitchen shelves, avoiding these mistakes improves results:
- Installing shelves without wall studs or anchors
- Using shelves that are too thin for heavy items
- Overcrowding shelves with decor
- Uneven spacing between shelves
Careful installation prevents sagging and long-term damage.
Maintenance Tips for Floating Kitchen Shelves
DIY floating kitchen shelves are easy to maintain with regular care.
- Wipe shelves weekly to prevent grease buildup
- Avoid placing extremely heavy appliances on them
- Reseal or repaint wood shelves if needed
Proper maintenance keeps shelves looking new for years.
Frequently Asked Questions
Are DIY floating kitchen shelves strong enough?
Yes, when installed into wall studs or using heavy-duty anchors, floating kitchen shelves can hold dishes, jars, and cookware safely.
How deep should floating kitchen shelves be?
Most kitchen floating shelves are 10–12 inches deep, which provides enough space without sticking out too far.